Overview

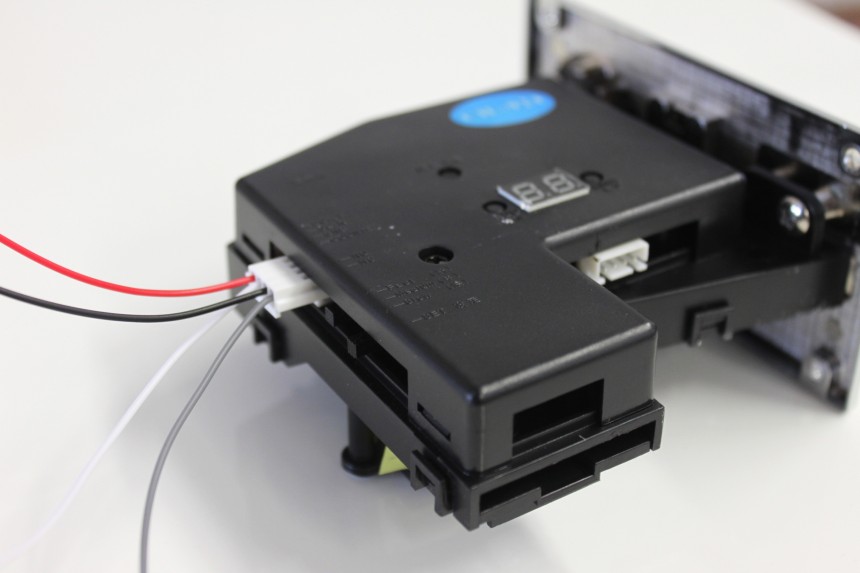
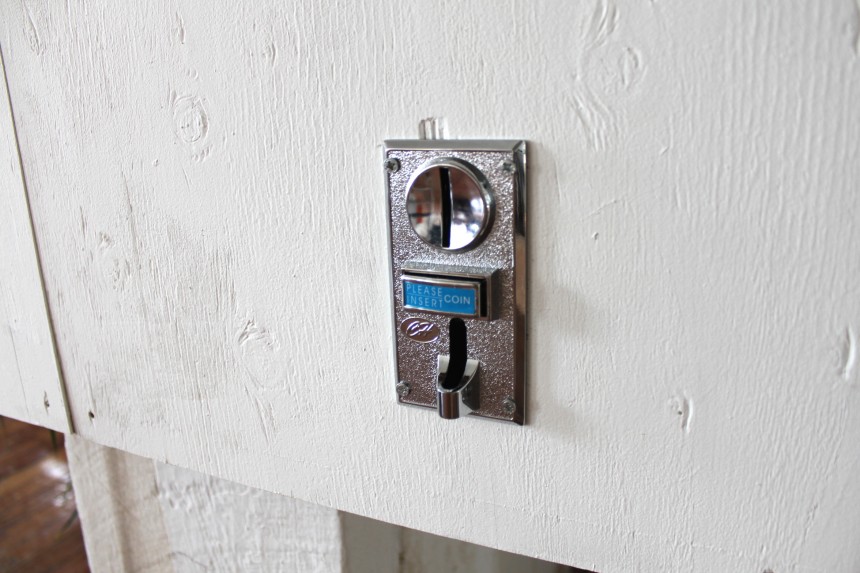
This prototype was built to demonstrate how a Coin Acceptor with varying coin sizes can be used to trigger different graphics on a projected display. While there are many creative applications for the Coin Acceptor, the technology is simple. The Coin Acceptor sends out electronic pulses to the Arduino, which counts the pulses and then sends the coin type as serial data to the Cinder app. The Cinder app parses the serial and can trigger whatever you’d like. (In our case we triggered graphics from a previous project.) The step by step guide below will help you get started.
Step 1: Programming the Coin Acceptor

There are four settings that need to be programmed to use the coin acceptor. You’ll need to set the number of different coin types (up to 4), the amount of pulses per coin, the level of accuracy and the amount of samples it takes to train the acceptor to read each coin. For example, I set 3 coin types (nickel, dime and quarter), 1 pulse for nickel, 2 for dime and 3 for quarter. I set it to the highest accuracy for each and to accept 15 samples. So far this has read each type accurately without fail.
Reference: Coin acceptor’s datasheet with detailed instructions: http://www.adafruit.com/datasheets/CHmulticoin.jpg
Step 2: Programming the Arduino

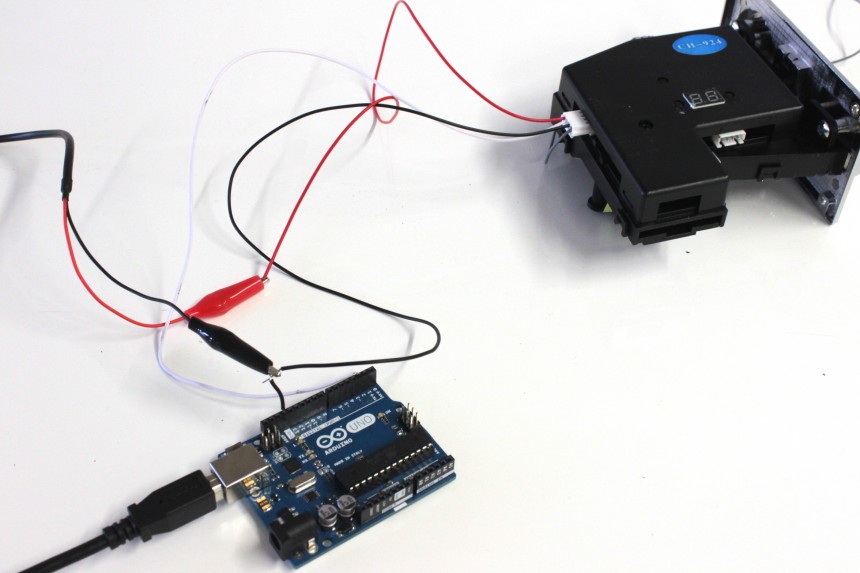
Connect the coin-out to the Arduino’s digital pin 2. This pin can be used as an interrupt so that the Arduino can read from the coin acceptor at any time without stopping the rest of the program.
Important Note: Although the coin acceptor is getting powered separately from the Arduino, make sure to give them a shared Ground connection. Otherwise, there will be a lot of noise in the read-outs and it will be unusable.
Reference: Arduino using interrupts: http://arduino.cc/en/Reference/attachInterrupt
Step 3: Serial -> Cinder Graphics App

I found it helpful to include a simple serial handshake between the Arduino and the Cinder app.
Arduino code:
void establishContact() {
    while (Serial.available() <= 0) {
        Serial.print('*');
        delay(300);
      }
}
Cinder code:
bool SerialCommunicationApp::serialInitiallized(){
    if (contact != '*'){
       contact = (char) serial.readByte();
       return false;
    }else{
       serial.writeByte('0');
       return true;
    }
}
This is useful because the Arduino serial port will not send any serial data before the cinder app is ready to receive it. The Cinder program waits for a signal from the Arduino to say that it is ready to send, and responds with a signal that Cinder is ready to receive. The incoming serial string is parsed and fed into a simple switch statement that can trigger anything you want. For our purposes, the Cinder app sends out OSC signals to a different Cinder graphics app because we were incorporating this into a large system of modular apps, but the basic layout remains the same.
Hardware
- Arduino Microcontroller (any model will work)
- Programmable Coin Acceptor ( https://www.sparkfun.com/products/11719)
- 12V DC Power Supply (for Coin Acceptor)
- Mac Mini
- Projector
Final Thoughts
Overall, this was a successful way to create a simple interactive experience combining the familiarity of a coin acceptor with the striking visuals of projection mapped graphics. The best next steps would be to explore using different types of vintage arcade coin slots and trying out a variety of surface sizes and materials to project onto. Hopefully, this prototype demo will help spark some ideas for the many possible applications of this playful and intuitive interaction.
Sample code can be found at: https://github.com/redpaperheart/Prototype-Coin-acceptor
